Abstraction: Texture and Pattern
I’ve designed myself a ten step programme to move from Representational art into a personal language of Abstraction. To understand what I mean by that, be sure to read my blog A Language of Abstraction.
This is step two: TEXTURE AND PATTERN


Texture within a painting not only brings interest to a piece, but also helps to add depth and scale. It’s also one of my favourite processes in painting (along with gesture) because it’s where I can experiment and truly let go of control. I also love browsing craft and DIY stores for anything that will make a pleasing texture or mark.
In these examples by some of my favourite artists, you could argue that the textures become the subject matter of the paintings. I’m particularly inspired by the freedom in mark making in Armando Mesias’ piece. The staining of the fabric with natural dyes found in his immediate environment has become a trade-mark for this artist.
In terms of language, working on texture can take the most time and where I tend to lose myself. It can be meditative. I see myself using texture or pattern in a piece where my attention was held the most. I would use layering, gesture and colour to deepen that conversation.
Techniques
I have a variety of texture pastes and paint mediums in my studio, which are designed for impasto work, that work perfectly for texturing. Some are transparent and others are white (which can also be tinted with colour); some are thick while others are very runny. This all adds to the variety of textures that can be achieved.
As I’m using a transparent mesh as my ground [or working surface], it also means that I have a greater scope in processes and effects. I can use the mediums as a way of “blocking” or masking out areas; the glossy transparent mediums can be used as a resist to fluid acrylic, especially when the paint is applied on the reverse of the mesh.


Patterns: gelli plate printing, stamp printing, freehand screenprinting using oil paint block and gesso, freehand transfer drawing, posca pen masks, gesso through stencil, frottage using stencils, rubber stamps or lino cut.
Texture: gelli plate, frottage (rubbing using oil pastel or neocolor crayon), stamping inky textures through stencil, pastes and mediums, sponging, splashes and drips (with transparent airbrush medium), spray paint.

Frottage with oil pastel and neocolor i on lino cut
I love the frottage technique. It can be used on raw or painted mesh which is another advantage of the thin material. I can see myself using it for textures, but also for architectural details like decorative wrought iron or stone work. I can also create my own rubber stamps for architectural detail and motifs.
Again, this will be an ongoing process and library of textures that I’ll expand upon as time goes on, but here are some of my favourites using Gelli plate printing (above) and frottage using oil pastel or artist’s crayon.

Frottage on screenprinting mesh using neocolor I with hand-made rubber stamps
Using the gelli plate with loose screen print mesh was very satisfying and easy to do, but once the mesh is stretched over a painter’s frame the results were unpredictable and awkward to create. However similar results could be achieved using stencils and texture paste. It’s also possible to work on a loose mesh prior to stretching across a frame.
I had a little time to combine these techniques with the shape creating techniques of step one. I kept to black and white for the time being to limit the choices I had to make and concentrate on texture. It’ll also help later in the process when I come to study value and tone.


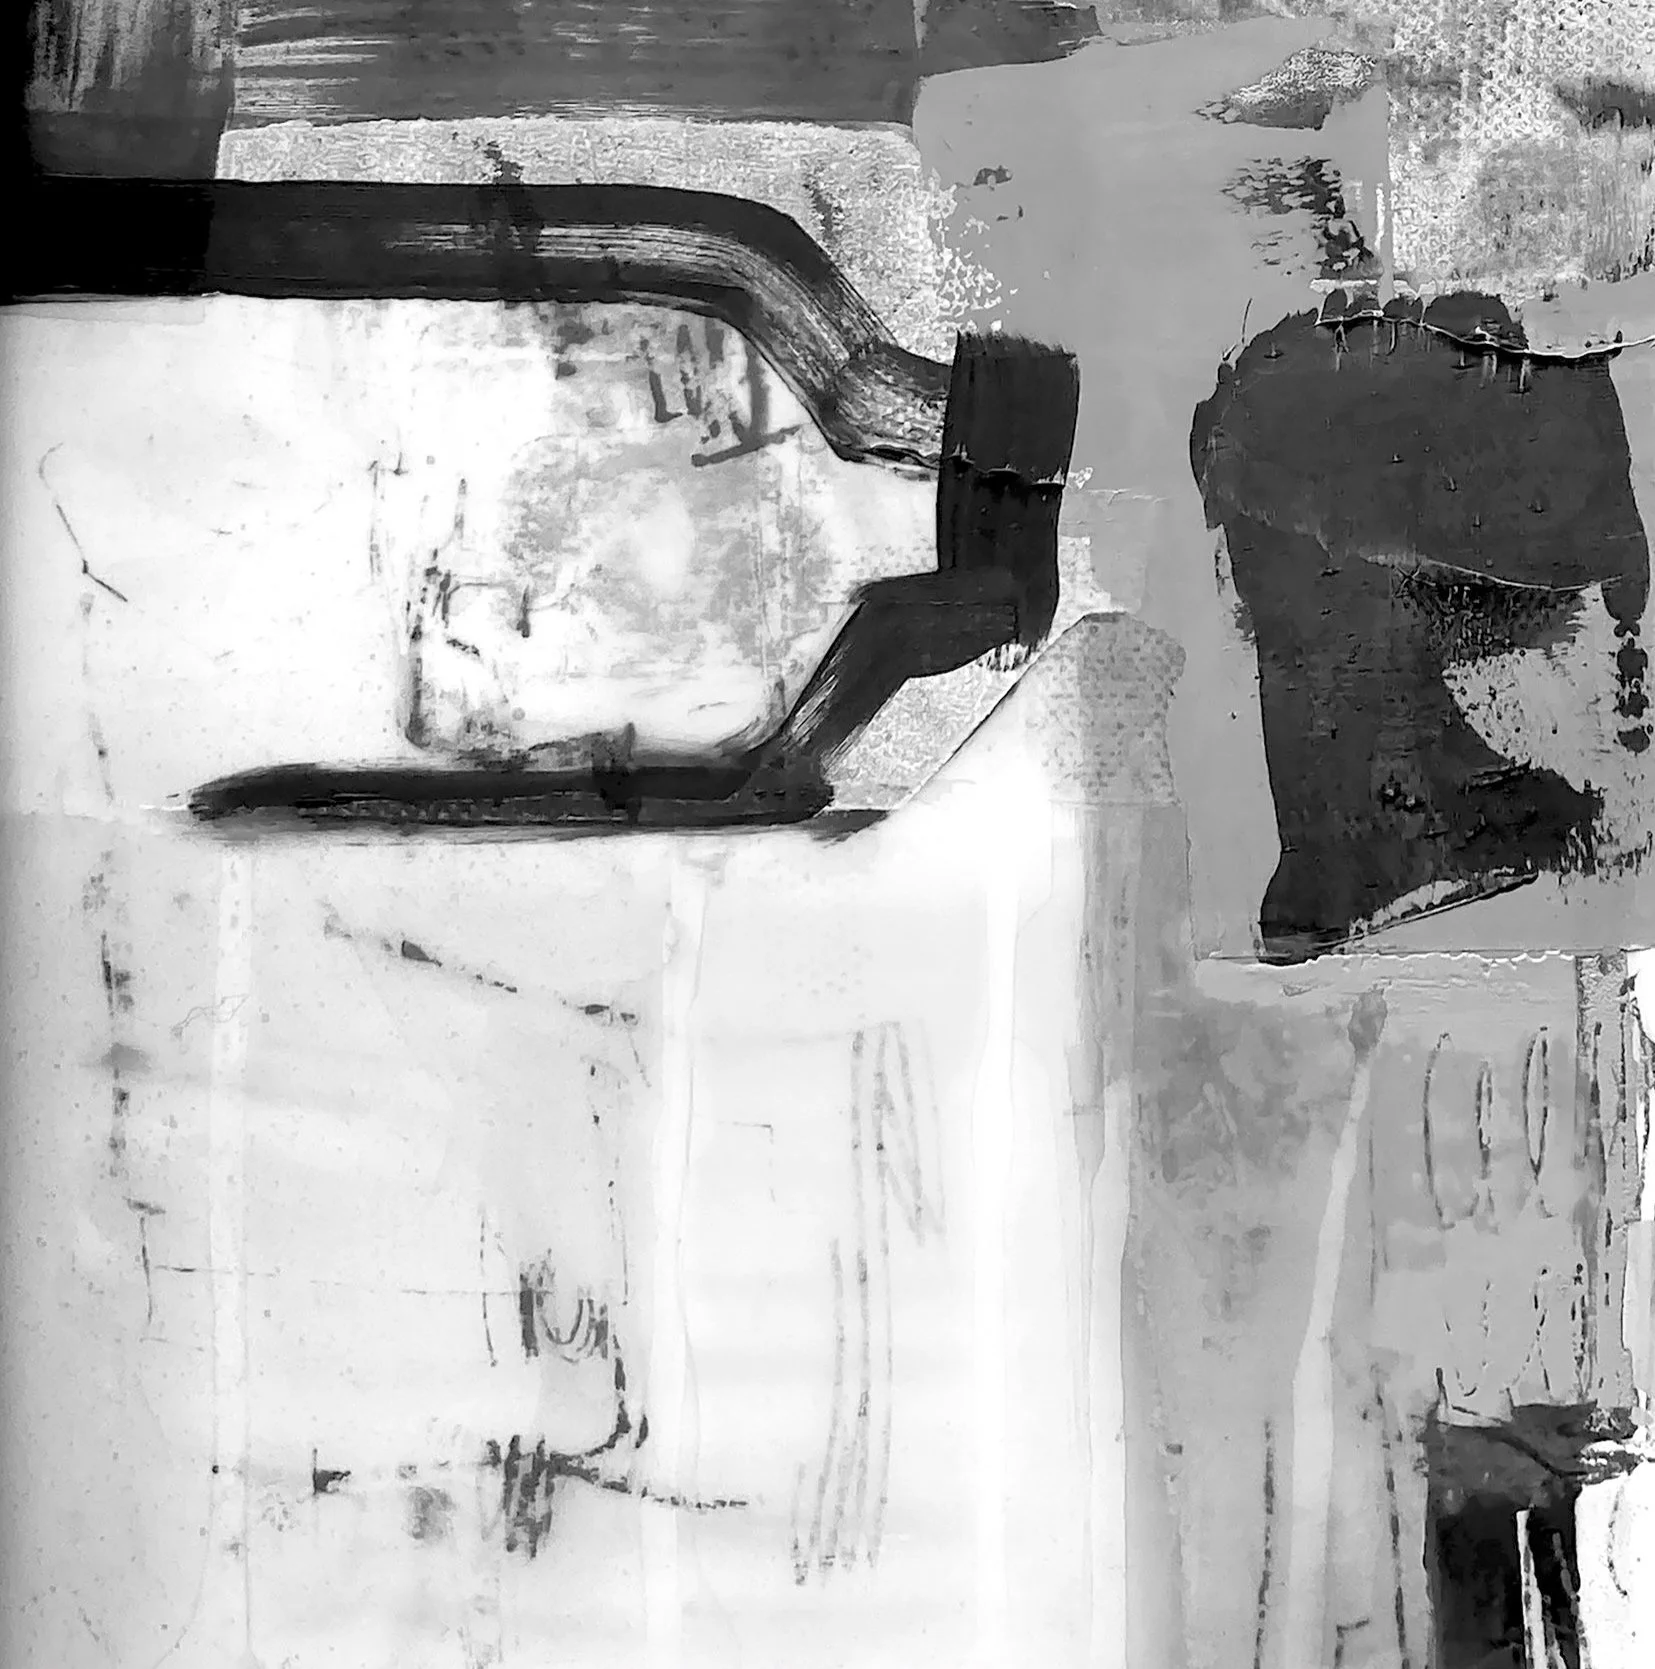


Some of these examples are the reverse side of the mesh which I often preferred!
Next up: Step three is Gestural mark-making